Situation
"Lieutenant Wray is coming back in from his solo recon. Looks like he single-handedly took out the commander of the 1st battalion of the German 1058th and threw them a bit of confusion. But that doesn't mean they still might not steamrolls us!
Objective
To defend the northern end of Sainte-Mère-Église from German elements from 1058th and 709th static infantry division push past the American defenses, avoiding any German from exiting the south table edge for 12 turns.
View of the battlefield with the American troops already deployed in the town. The blue line is a sunken road flooded by the Germans to slow Allied advance.

Another view with the 57mm ATG saved from the previous mission, guarding the highway.

A different perspective with all Americans deployed and waiting. There are three scouts at the bottom left.

And one last view, this time with the .30 cal machine gun deployed in the second story and controlling all the battlefield, with a servant and a Rep 6 officer to help the gunner with both the activatiions and In Sight and Recover Tests.

Turn one and the scouts fast moving forward cross paths with Lt. Wray and his prisoners on their way back.

Germans are gunned down by the .30 cal as soon as they enter the table. They quickly move to both flanks to take cover in the houses.

Same situation from different angle. A scout section at the bottom, and an assault group running along the bocage to avoid being fired.

But that didn't help them and were caught by the machine gun and forced to duck back.

The Germans arrived to the "pause line" (waiting for HQ orders) bordering the sunken lane, where they must wait until they score 4+ in any activation (they waited for two turns). Lt. Wray spot them first, killing one and supressing the others (he's a marksman).

Then the scouts closed to the hedge, saw the enemy first, fired and put them all out of action. Good boys!

Meanwhile Lt. Wray kept moving back to his lines.

But the Germans finally deployed their two MG-42 on the second floor from both houses, and then a firing duel started.

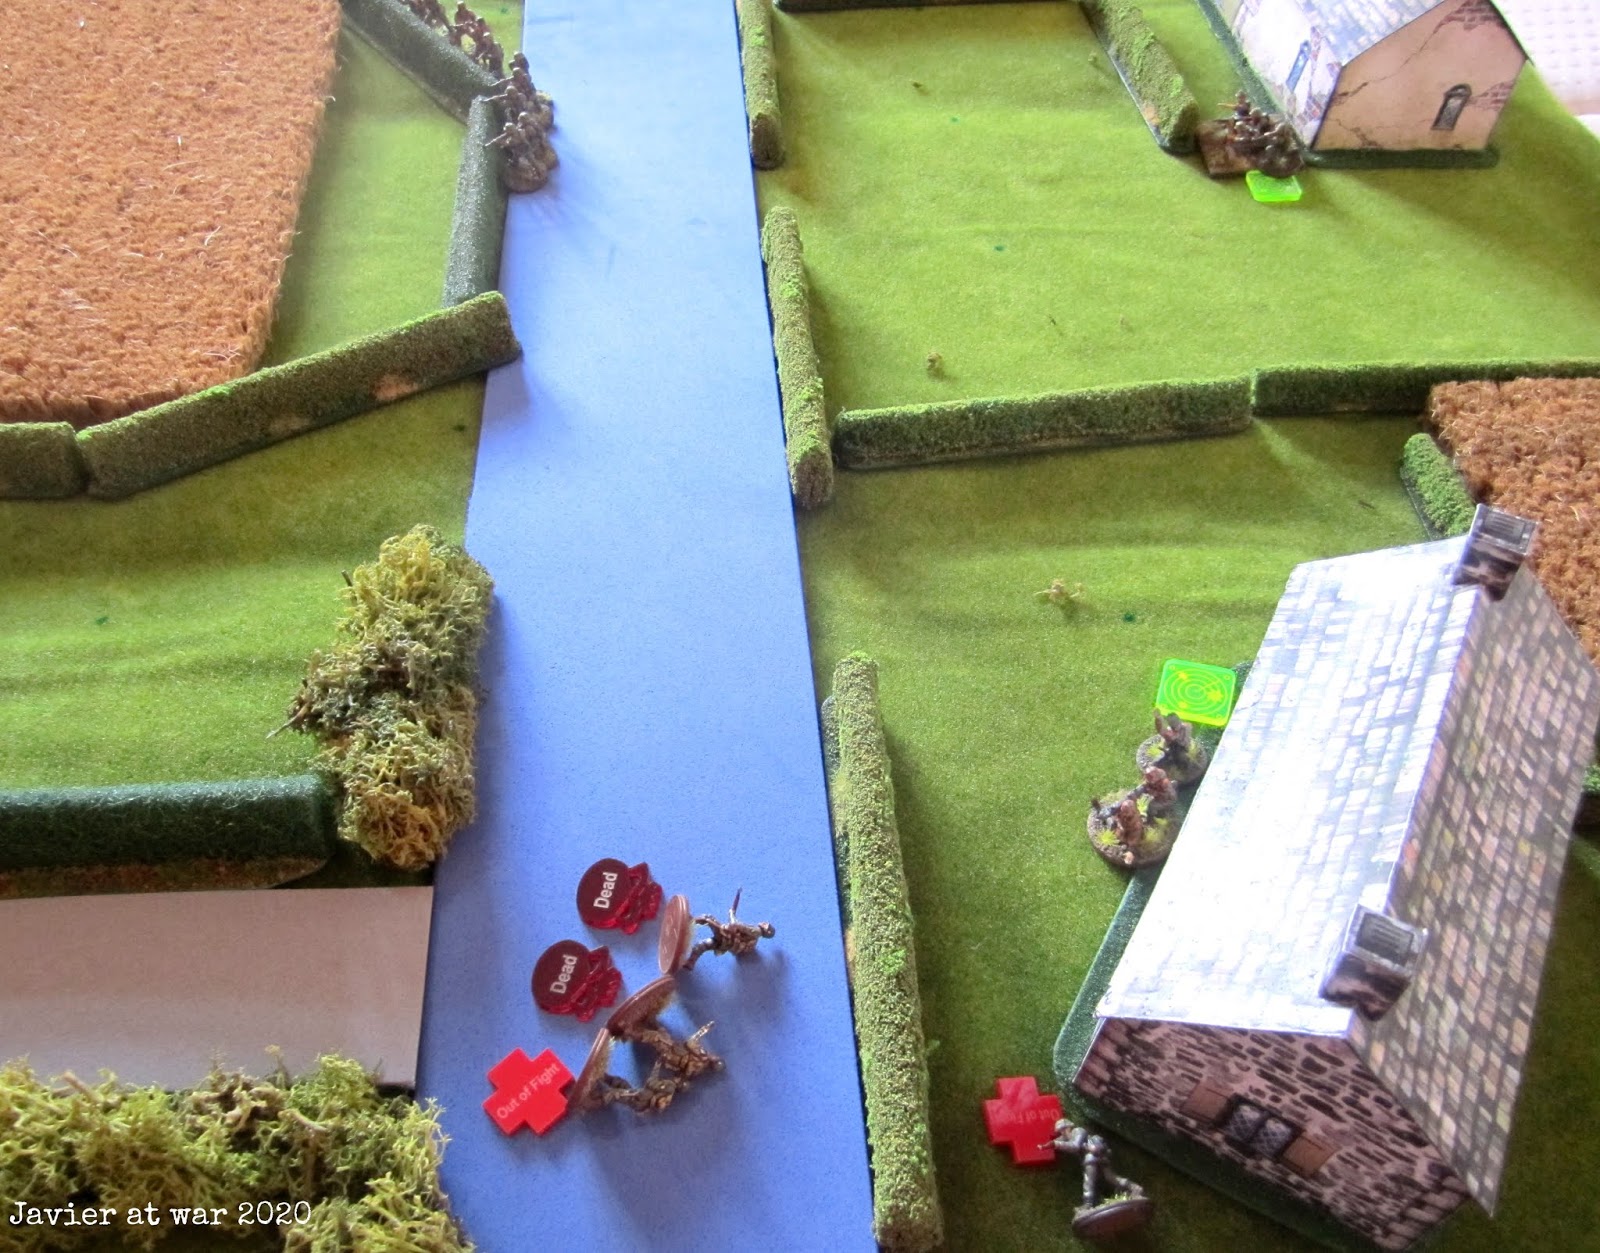
The green square marker represents they are on second floor.

The scouts decided to try to cross the sunken lane to clear the house in close combat with the MG team who was unprotected, but they were spotted midway and fell down in a deadly crossfire.
After that, the two German HMGs quickly finished the allied .30 cal MG

And then they did the same with the ATG as they killed one crew and made the other one flee the battlefield, abandoning the gun.

Now things were getting pretty hard for the 82nd as everytime they popped up their heads they were fired and suppressed by the German MGs.

This allowed the German soldiers to advance unmolested under the friendly covering fire.
This picture belongs to turn 10. There were only two turns to end the encounter and no Germans had exited the board yet, though they were close.

When the German assault squad was crossing the town it was caught in an ambush. The point man was killed and two more run forward ducking for cover.

Then it was German turn and they fired and killed most opposition and could leave the board. It was turn 11.

Only two Germans were supressed in the last moment and one of them put out of fight and couldn't leave on turn 11, but in the last moment one recovered and picked up his wounded comrade and left the battlefield with him.

So the Germans finally exited more than 50% of the remaining American troops and won the scenario, capturing Sainte-Mère-Église and finishing here the whole campaign.
Well, it was shocking to be defeated after many easily won scenarios and also with both sides starting with the same number of troops; but that is how real life happens I guess.
Soon I will start playing a new campaign, probably Peiper at the gates, but first I need to get two cent coins to base my miniatures and I cannot find any because of the covid-19 quarantine!
On a side note, I wanted to comment that for this game I used the last edition of Nuts! which is a major improvement in all ways to the second edition I was using before. I recommend all players sticking to their older versions to buy the new one because of this.


.JPG)


Wow, that was a lot different, much more difficult! Even with Lt Ray and the other Rep 6 (Six!!!) officer, that's hard to believe, but those two MG-42s just dominated the entire battlefield once they went into action.
ReplyDeleteWas that the actual end of the campaign, or did the campaign end because you lost this fight?
I understand about running out of stuff, I need to see if I can order some paints online since I can't go to my local shop.
I look forward to your next campaign!
V/R,
Jack
Yes, once the two MGs were deployed and started firing the allied were doomed. Supression rules in Nuts! work really well.
ReplyDeleteIt was the end of the campaign because I failed this scenario. I'll replay it someday as I only played 5 out of 10 scenarios, but next it will be something different like Peiper. However, as I said, I've run out of bases and until I can get some I won't be able to play Nuts! again as Peiper demands more troops to play, at least a platoon per side.
I've also run out of MDF bases and running low on glue and varnish :)
Cheers Jack!
Gotcha, Javier, thanks! And I'm with you, I'm starting to run out of supplies, too...
DeleteV/R,
Jack
It just goes to show how quickly things can change. Sounds like a great game anyway, even if the AI was victorious!
ReplyDeleteHope you find a way to secure more modelling supplies.
That's the beauty of THW rules.
ReplyDeleteThanks Alan, I can order glue and varnish but I won't be able to get 2 cent coins to base my miniatures until the quarantine ends :(