Showing posts with label Outmercs. Show all posts

5/25/2025

Defence

Defence mission is pretty straight forward as there are d3+1 objectives to defend and the same number of Spawn points in front of them like in a mirror. Spawn points create Blips with enemies from the first up to sixth turn and then 1d6 turns more. The player has to resist and keep all the objectives under his control. He also can try to attack and clear some Spawn points.

I introduced tanks for the first time. Outmercs is basically infantry action, but a vehicle or two may appear sometimes.

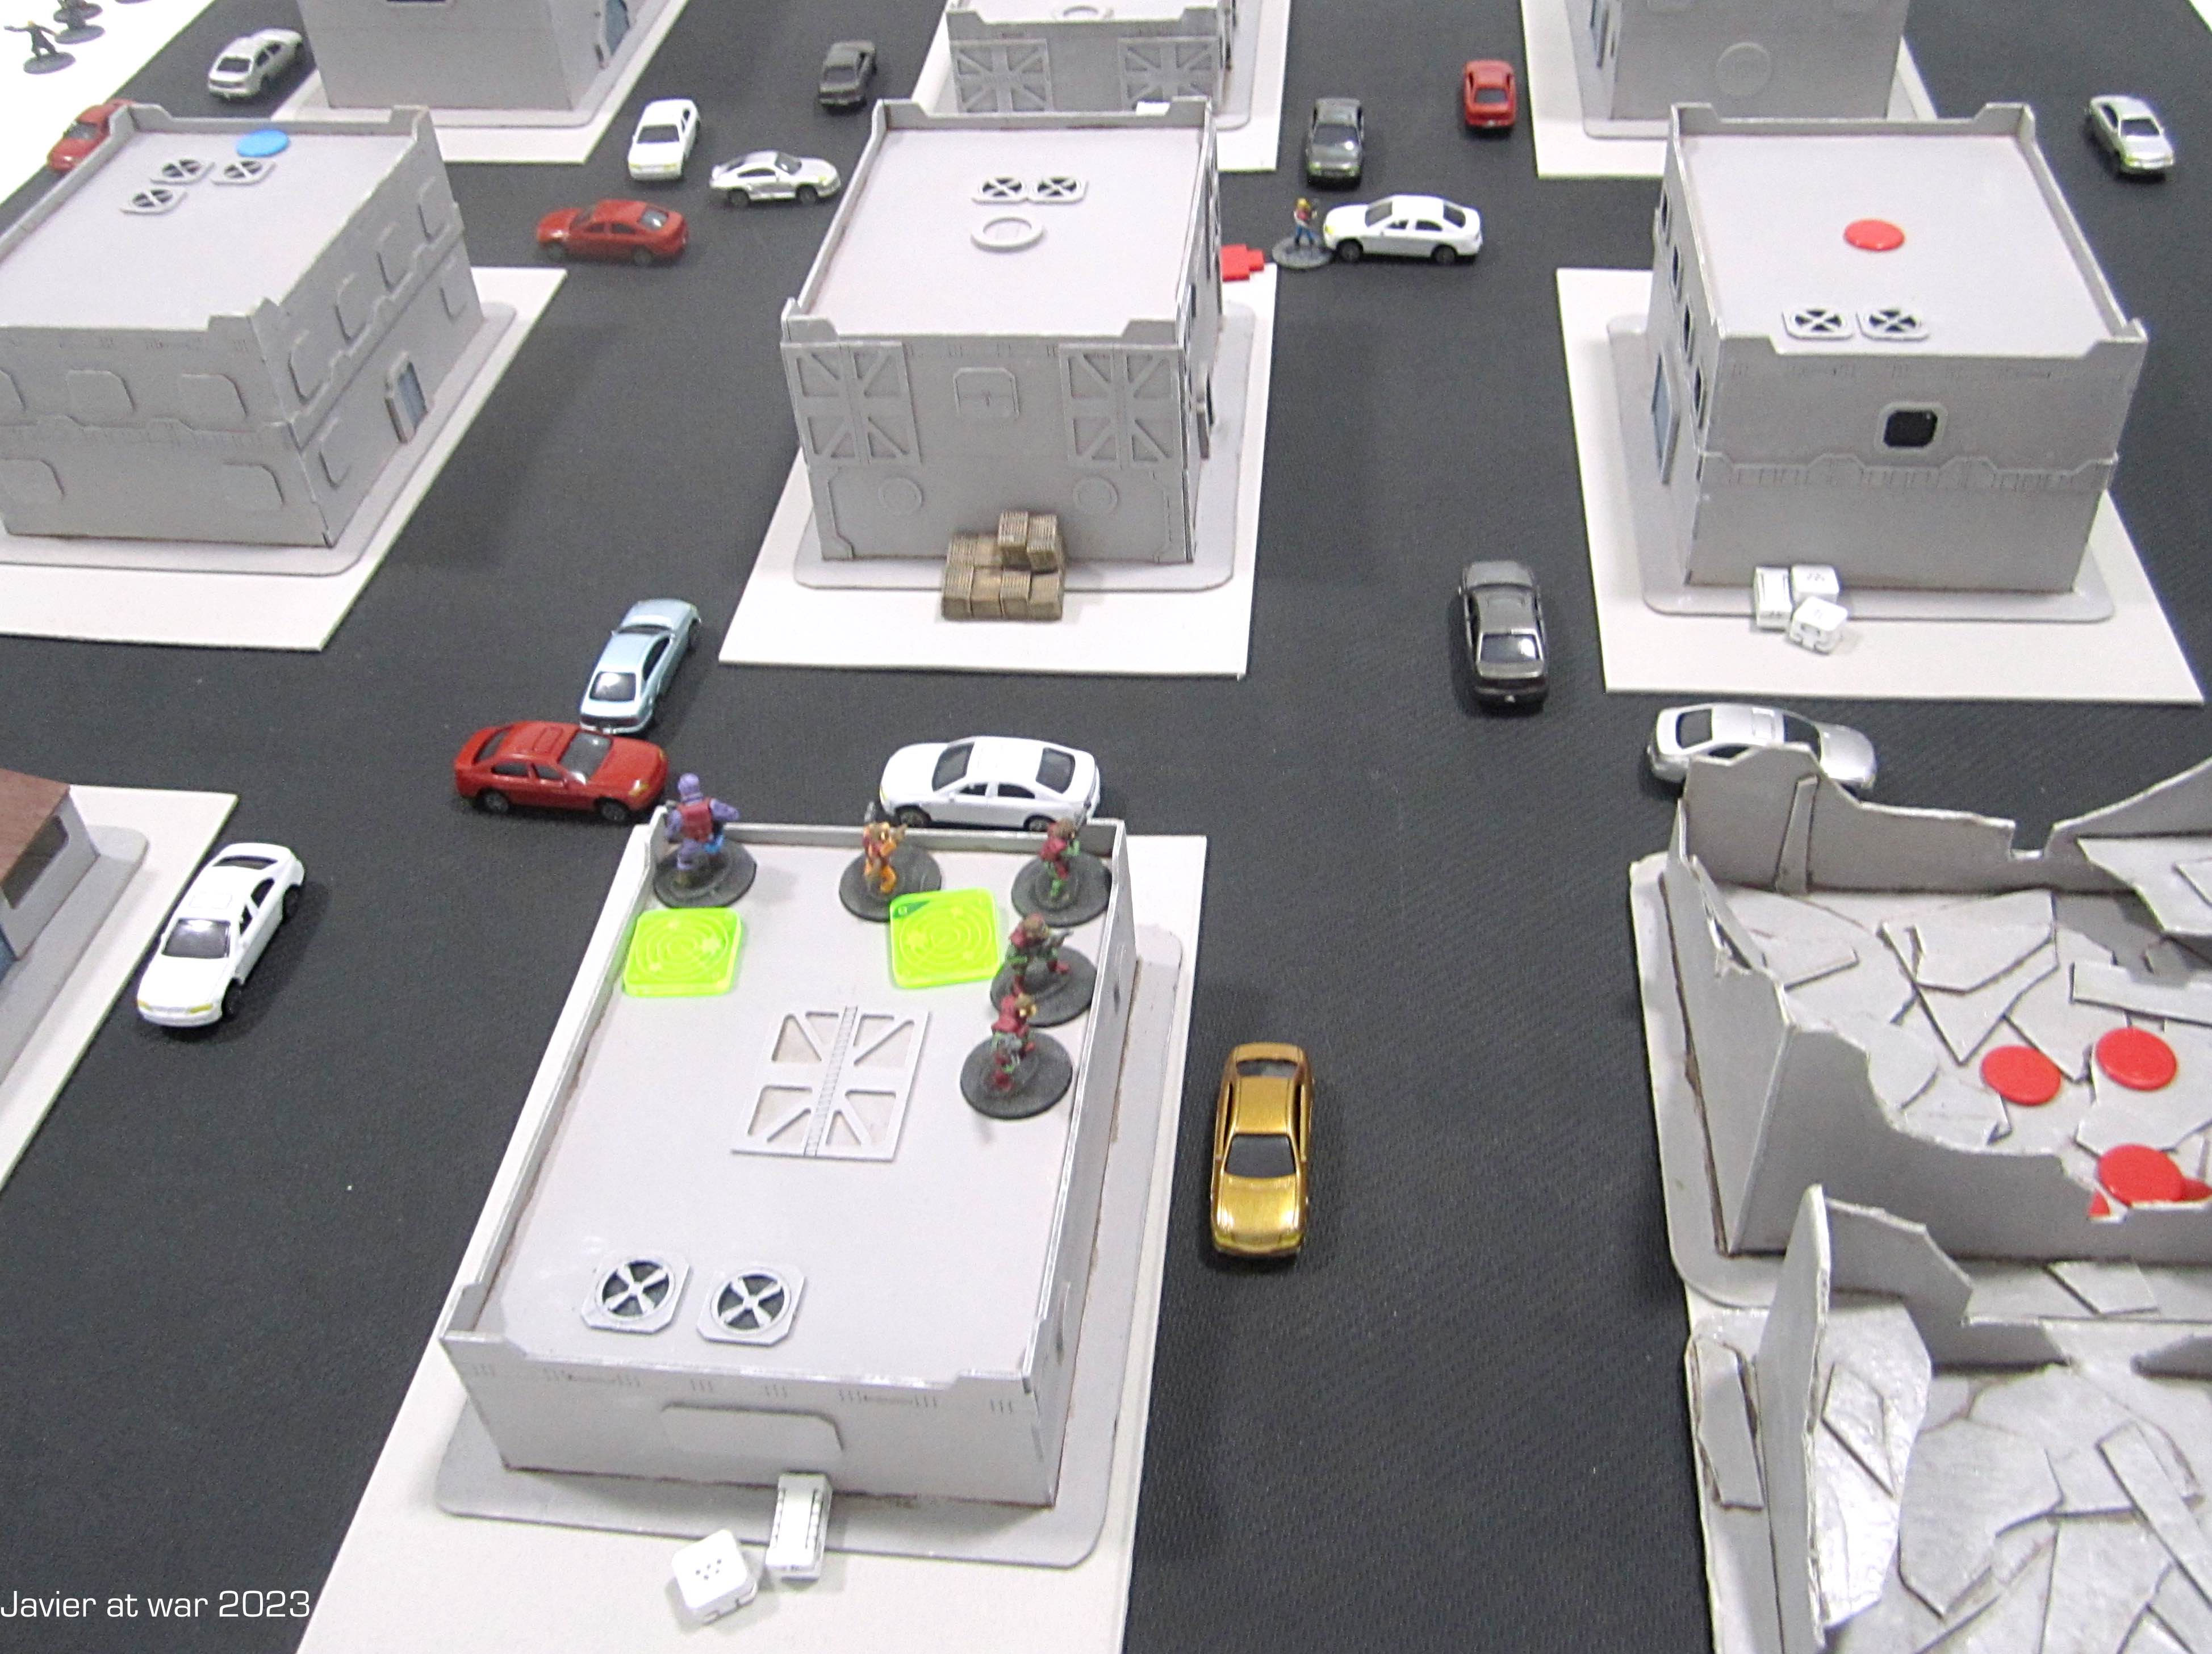
I got three places to defend, the buildings with a red dot, and opposite to them in yellow, three Spawn points. 


On the first turn a team of three enemies (mercenary humans like my squad) appeared and were quickly shot down by rifle fire. Then a light hover tank showed up and was also destroyed with one shot from the rocket launcher.

Here the die is marking turn 5 (I forgot to take pictures for a while). On the left, the specialist in Combat armour came out of the building to shoot with his laser rifle at some enemies ducking back behind the wall, whereas on the right my leader and two more men went down by enemy fire.


Some enemies outflanked me and threw a hand grenade inside the building.


Another light tank appeared, it was shot and damaged but could shoot back at the rocket launcher.


The tank advanced to snatch an objective as well as to support the assault on the first building, but luckily I received some reinforcements.


One enemy assault trooper got into the house but he was killed. The tank got closer but it couldn't spot anyone inside and did not shoot.

It was turn 11 when some of my men came out from the building to finish off the wounded and concussed enemies on the field while my rocket launcher was shooting at the back of the tank and destroying it.

So I could resist the attack for 12 turns without losing any objective but three men. I guess I left too much open space in front of the buildings that allowed me to easily shoot  to all incoming enemies.

5/01/2025

Infestation.

This mission is Infestation. There is an outbreak and a team is dispatched to cleanse the place, but I also added parts of the encounters Rescue (scientists) and Retrieve (data) to spice up things a little bit. Thus, the extermination team, equipped with power armour and Mini-missile rifles (Minimi) must first retrieve all the data from the research done in these facilities, located in the upper left corner of the map, and then clear the five Spawn points generating Aliens. Later and if possible, rescue the scientists working on that secret project, who have locked themselves in the Lab situated in the middle left room. Finally and if everything fails, destroy all the compound by blasting the core reactors in the bottom left room.


There are the three objective rooms on the left border and the insertion team in the entrance on the right. There are also five markers indicating exits for Aliens.

The veteran troops move swiftly and clear the first Spawn point without incident and then split in two teams of three. One on the left and heading for the reactor and the Spawn point in the centre, the other on the right heading towards where all the data is stored. The team on the left sights the first Aliens and kill them from distance.

The team on the right sights Aliens coming from the left flank. The small one is killed but the Queen survives and ducks back.

In the following turn, the leader and another soldier go for the data while a third one covers the aisle in Overwatch, but the Queen charges ignoring the bullets and kill him!

Two from the left flank try to neutralize a Spawn point by the book with one of them covering in Overwatch while the other tries to clear it, but precisely it that moment two Aliens come out . One is toasted under the covering fire, but the other charges and kills the marine in a vicious hand-to-hand combat.

Then it charges the other one who can barely contain its attacks (draw in melee).

The third member of the team in the left opens fire on the Alien and kills it but spends his magazine and also kills his comrade!

Meanwhile, the Queen approaches the two surviving soldiers who are now downloading all the data, and lays in wait behind the barrels.

But she grows tired of waiting and charges them taking advantage that I made the mistake of not leaving any of them on Overwatch!

The Queen kills the leader but then the other trooper shoots in full auto and kills the Queen. Phew!

On the left and out of the picture, the surviving element on the left flank sets the reactors on self-destruction and runs towards the exit chased by several yellow Blips (possible Aliens) while on the right flank is happening the same as the surviving soldier with the data is trying to escape as well.

With only four turns remaining and seeing them in a very dangerous situation, I decide to leave the scientists behind as they are not a vital objective. They could try to escape by themselves but they panic and decide not to and stay locked, but the whole installation is going to blow out!

The most important element from the mission as he is carrying all the data is ambushed by the King!

He desperately fights off the monster (draw) and then in his turn must decide if trying to break contact and flee or shoot, or stay and fight the creature in melé. Thinking it is not going to be any difference and that all is lost, I decide to fight in hand-to-hand combat... and win! The King is lethally wounded but as he is Resilient, can re-roll and again is killed, a miracle!


In this last picture we can see how both marines finally escape from certain death and successfully accomplish the mission with just one turn left.

Final score after the mission: -12k credits for loosing 4 soldiers, -12k for leaving 4 Spawn credits active, -9K credits for not rescuing the scientists, +2k credits for successfully ending on turn 11, +5k credits for clearing one Spawn Point, +5k credits for blowing up the facility, +10k credits for retrieving the data. Mission total: -23+22= 1.000 credits deficit, not good for the mercs but it is the price for losing more than half of the team.

4/18/2025

Outmercs: Rescue

Having some spare time on Easter holidays I retook my never ending solo skirmish system (close to be finished I swear!)

I tested the encounter Rescue, in which I have a squad who has to rescue an undetermined number of civilians (1d6+1) from a war zone; I scored 2 so 3 people to rescue. The game starts with the squad already deployed next to their ship, and three hazard markers indicating possible enemy forces. The two buildings with red skulls are future generator of more enemy forces (I didn't put the markers until pic 3!). One will start generating hazard markers on turn five onwards, and the second on turn nine.

All buildings must be checked until civilians are found. On a d6 they can contain: 1 nothing, 2-3 civilians, 4-6 enemies. I met too many enemies for my taste and I changed to 1-2 nothing, 2-3 civilians and 5-6 enemies for the next game.


I scored enough activations to get everybody on the move. Squad leader, a sniper and a grunt upwards on the left, support weapon (heavy laser) and two more grunts on the right. All troops veteran in combat armour.

First contact! A huge brute ala XCom Muton, armed with a heavy laser. I was on overwatch and could shot it down before he could do anything.

Checking first building and two Snakemen put down with a hand grenade. I started with 3 grenades (2d6) and now I had only two, but being just one guy in the building he couldn't risk to kill two enemies with his laser rifle. In the game, downed enemies do not check their status up to the end of his next turn so I do not know if they are out of fight unless I contact them base to base.

My sergeant checked another building and met two Mutons so he had to use another hand grenade. The brute at the bottom recovered from the shots received and stood on their feet but he missed his shots.

Grunt entered building on the right and met another Snakemen. He missed his shots so the sniper followed and could kill it.

My sergeant stepped on a personal mine when he was closing to finish the downed brutes. His accompanying grunt could finish them and then assisted the sergeant, who luckily recovered in the end.


Another building and Aliens again, and with them my last grenade.

Turn 5 and the building on the left started to generate new enemies, three green brutes that caught one of my men in the open and the sniper as well. Sergeant was without ammo and ducking back behind the red vehicle, yelling for backup.


I tried the building on the right with the idea of leaving the mission after that as another batch of enemies will be generated next turn and I already had two men down.

Bingo! The team found two survivors (scored a 4 on d3) and then run frantically towards the chopper. The sniper and the sergeant could recover and also run as fast as they could, followed by Aliens.
Two psykers (XCom Sectoids or just Greys) abducted one civilian who attacked the other one while the soldier leading them was hit and downed by a Muton. Sarge and sniper suppressed enemy advance firing from the ship.

In my next turn (9) the downed soldier could recover and take the civilians to the ship and escape.

I received 4.000 credits for accomplishing the mission in 9 turns (the sooner you finish, the bigger the payment), another 10.000 c. for the rescued civilians but a penalty of minus 3.000 for leaving one survivor behind and minus 2.000 for losing two men, so 9.000 credits in total.


1/06/2025

Another patrol

During Xmas holidays I came back to my house rules and tinkered with them a bit and then tried a scenario. 

I don't know about you guys but tinkering with house rules has been for me another part of the hobby that I love as much as painting, playing games and collecting and reading rulesets.

I played an US regular squad on patrol in a 80x80 cm board for DBA 3. Their mission was reaching the opposite side and come back, with a plus bonus if they get a prisoner for interrogation.

I divided my squad in a 2 men scout team on the left, a BAR section in the middle and the rest of the them with the sergeant on the right to check the big house in front of them.

The BAR section moved at the double and took position on the top of the hill, ready to give firing support, and immediately after that they spot some enemies.

Half a elite squad with a MG34 that engaged fire with them. I forgot to take pictures of the sergeant with the section killing a German scout team hidden in the house and then entering and helping the BAR section to kill the MG34 team. Only one member of the BAR section survived.

On the other side, the American scout team had almost reached their objective. Again, forgot to take pictures of German coming down the road and finishing them after a fierce shootout.

Meanwhile, German soldiers sneaked behind sargeant's boys who were finishing the MG34, and fired at some of them outside whereas assaulted the house in hand-to-hand combat. There were two rounds of intense fighting, with grenades flying from both sides and shooting through the windows.

My squad won the fight but ended with only two men standing, and more Germans were coming down the road. However, the managed to get one prisoner alive and leave the place.


So they didn't scout the whole board but brought one prisoner. There were 2 KIA, 2 maimed, another 2 in hospital and the rest recovered. I had fun so it was a victory ;-)

2/22/2023

Encounter at Spaghetti's Junction

"A running battle against city street gangs or organisation assassins across the lanes of a huge, immensely complex, megacity traffic junction. Fast moving traffic lanes; a good chance of getting crunched trying to get across. Pedestrian high speed moving pavements. Traffic robots programmed to capture jaywalkers. Shooting across traffic lanes will give a chance of hitting a vehicle; possibly causing a pile up, certainly briging D10 police with needle guns and gas grenades."

That is what Bryan Ansell wrote in 1980 in his ruleset Laserburn as a suggestion for a scenario. I always wanted to play it but never got the right moment, so now I'm playing it in an attack of nostalgia and also missing terribly my gaming buddy Paco with whom I played countless Laserburn games in the eighties.

On 2018 I solo played Assault on Bunker 17, and after this new one I'm planning to play at least a couple more: Sewerville shootout and for a few gonads more.

I'm not using Laserburn rules but a home-made set inspired in them. There are four street gangs fighting for territory. I will lead one, the A-pes, and the other three will be run by the AI:

A-pes

1 x Shooting 3 Melee 3 Guts 3 Armour 3. Leader. Armed with Big pistol, Frag grenade and medkit.

3 x S3 M2 G3 Ar4 armed with Assault rifle.

1 x Gorilla S2 M4 G2 A3 with Minigun.

Scavengers (red chits)

1 x S3 M2 G3 Ar 3. Leader. with Ar, Frag, Mdk.

2 x S2 M1 S2 Ar 3 with big pistol.

1 x S2 M1 S2 Ar 3 with SMG.

1 x S2 M1 S2 Ar 3 with Shotgun.

1 x S2 M1 S2 Ar 2 with rifle.

Vultures (gold chits)

1 x S3 M3 G3 Ar 3. Leader with pistol, sword, Mdk.

1 x  S3 M3 G3 Ar4. Thulgz wiht Bolt Pistol.

1 x S3 M3 G3 Ar2. Daemon with automatic grenade launcher.

3 x S2 M2 G2 Ar 3 with big pistol, pistol & axe and shotgun respectively.

Blades (blue chits)

1 x S3 M3 G3 Ar5. Leader with flamer and power sword.

1 x S2 M1 G2 Ar4 with laser pistol and power sword.

4 x S3 M2 G3 Ar3 with shotgun, big pistol and two pistols respectively.

Police

1x S3 M2 G3 Ar3. Leader with AR

Rest x S2 M1 G2 Ar3. AR.

Traffic robot

S2 M2 G5 Ar5.

Police hover vehicle

Medium Ar5 with HMG. Crew x2 S3 M2 G3 Ar3. 

Everytime a chit is sighted and revealed I roll 1d6: 1 police, 2-3 one ganger, 4-5 two gangers, 6 three gangers. A chit per turn will come out from the buildings until they are all gone. All the gangs activate in clockwise order.

One of the Vultures is knocked down by a car.

 I move all the Apes to the central building and go Overwatch.

 Three Blades leave the building and finish the Vulture.

Another Blade enters the building to his right and is wounded by the Gorilla and his Minigun. A new Vulture in the street fires his gun and forces one of the Blades to duckback behind some barrels.

Later another Vulture goes out and is shot down by some Scavengers who sneaked from their base. Their leader put him down with his assault rifle.

But now my Apes react and fire in Overwatch to two Scavengers trying to cross the street. One is down whereas the other is wounded and run back to the building in panic.

Gorilla fires in his activation and finally kills the Blade on the other building.

More Vultures show up and a firefight starts between them and the Scavegers. All the city is a firefight. Where is the police!?

A traffic robot takes action and tries to arrest some Apes but it is shot down. Some cars collide and a fire starts.


One Blade tries to cross the street but the Gorilla stops him. He controls all the street. On the left Vultures and Scavengers keep shooting at each other while some Blades approach.

I order my Apes to assault the Scavenger building and finish the wounded ganger.

The Vultures suppress the Scavengers and then turn to incoming Blades. Daemon fires his AGL but misses. The Thulg misses too and is also out of ammo!

A remaining member of the Scavengers gets my Apes by surprise, killing one and forcing Duckback another.

Police finally shows up and in style! A police hover vehicle shoots at the leader of the A-pes who miraculously escapes alive and hides in the building to lick his wounds.

Another Blade shoots at the Gorilla and is down by the Minigun. He alone has killed three Blades so far!

The leader of the Blades is a tank in Assault armour and equipped with flamer and energy sword, so he assaults and burns all the Vultures in one shot.

Then, the leader of the Vultures duels with his sword the leader of the Blades. He wins the first round but he cannot pierce his opponent's armour. The leader of the Blades wins the second round and his power sword smokes  the Vulture's innards in a flash. In the other building a wounded Blade kills the leader of the Scavengers.


More police coming, unaware they are being watched.

One of them enters the building and fires at the leader of the Blades who Duckbacks saved by his armour. The other two are gunned in the street by other Blades but they return fire and kill one of them.

A Vulture enters and shoot his shotgun (the template of the gun is the exact measure of the mouth depressor stick, 6") killing an agent but now he is out of ammo.

I needed all the monkey firepower to put down the police car. My leader used his only Frag grenade and the rest used their automatic rifles and minigun.

The power sword slices the last Scavenger like a hot knife through butter.


Police severely mauled and needing some back up. "Where is a Judge when you need one?"

 My apes advance and kill a Blade.

The last Blade is their leader and he tries to close to use his flamer and sword, but Gorilla and his minigun finish him when he's crossing the street. Gorilla has killed most of the Blades!